Appointment Slots allow you to list available dates and times on a public calendar, so that current and prospective clients can request a scheduled session, if the provider has the feature enabled. For a good overview of this feature, please see the video recording of a webinar we hosted on this type of virtual clinic.
If you are an Account Administrator, you can request that this feature be added to your account by contacting [email protected]. Please include the name of the Account Service(s) that users can request an appointment for. If you have not yet created one, please include the information we will need to create one for you: name, description, payment required (if applicable), and scheduling duration.)
This support article will go over the process for adding available appointment slots to your calendar. (If you use the Google Calendar or Microsoft Outlook calendar integrations, you can enter your general business hours into the Appointment Slots, and our system will also reference your other calendar for times that you have something else scheduled, so that it is not shown to potential participants.)
You may also be interested in:
Add a One Time Appointment Slot
Create a one time appointment slot if you want to add an appointment slot for a single date.
1. Click on the profile icon in the upper right-hand corner, and select "Appointment Slots" from the drop-down menu.

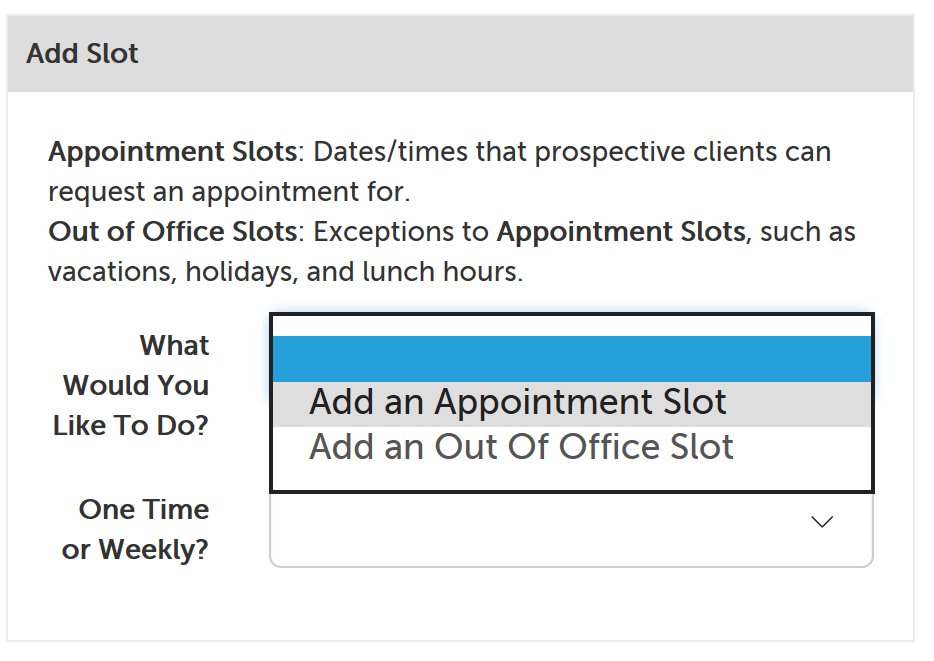
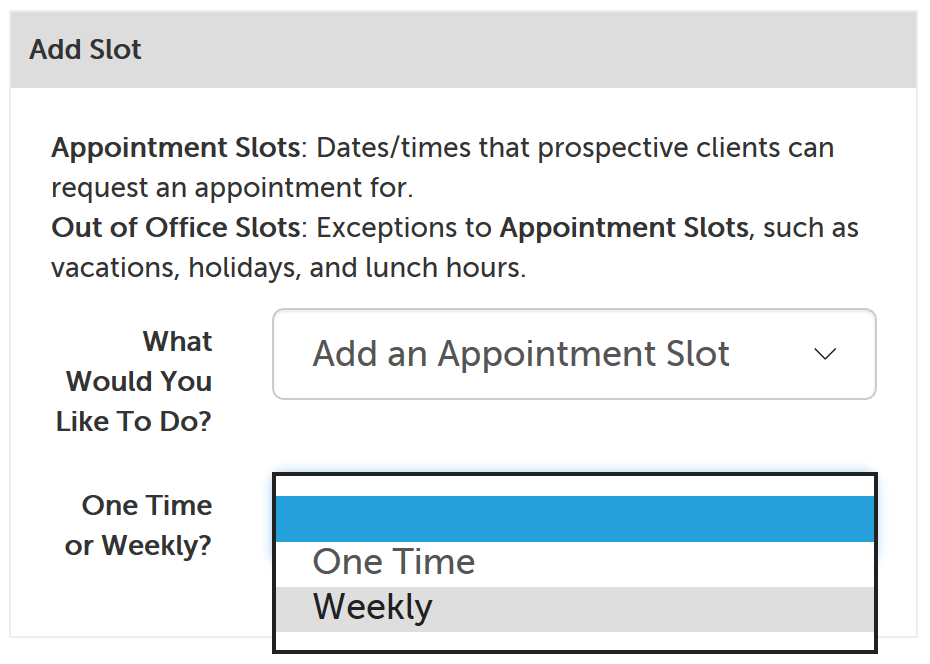
2. Click on the dropdown next to "What Would You Like To Do?" and select "Add an Appointment Slot".

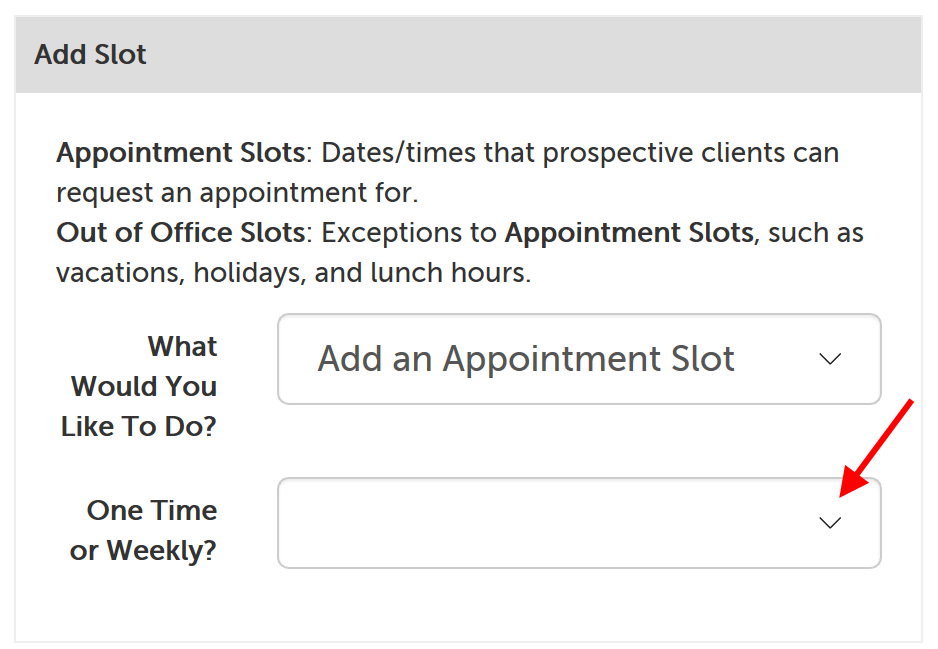
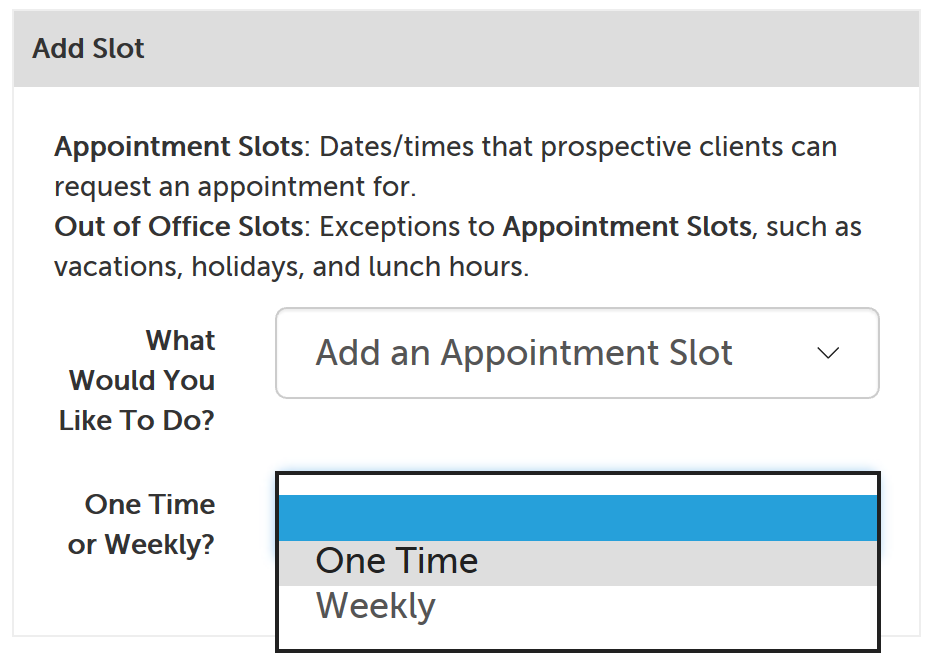
3. Click on the dropdown next to "One Time or Weekly?" and select "One Time".
4. Click on the "From Time" field to have the timepick appear. Click a starting hour and then select minute value, in your account's time zone. Click "AM" or "PM" to indicate which is applicable.
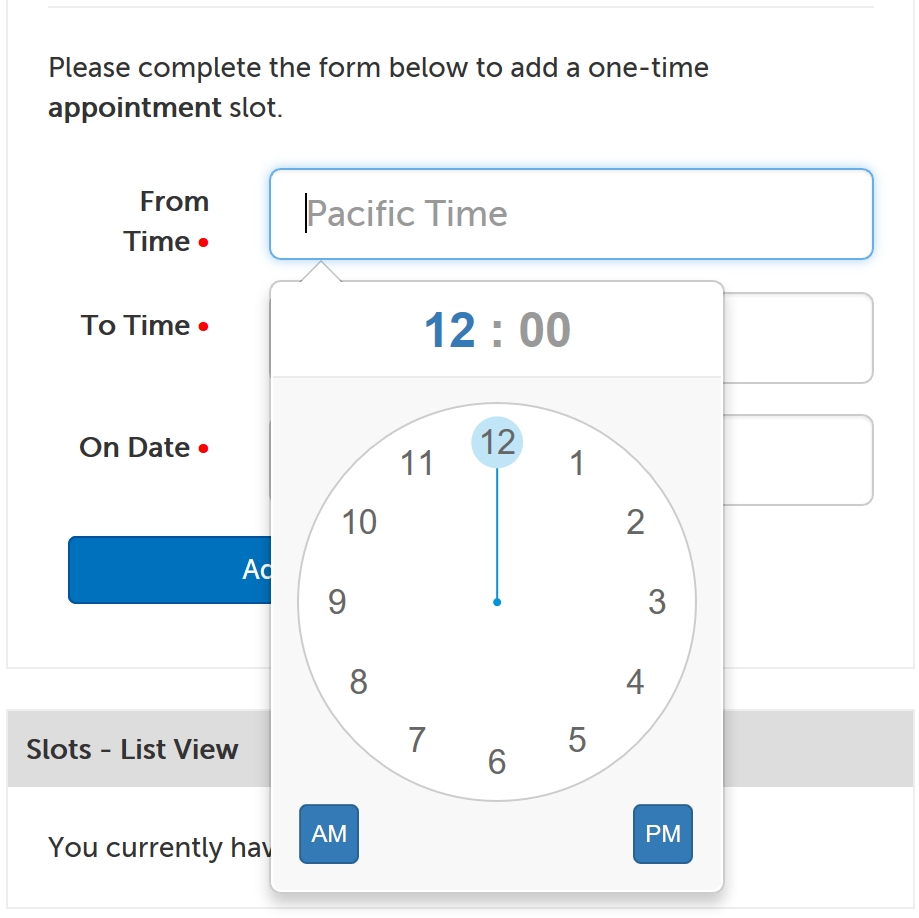

5. Set a "To Time" the same way.
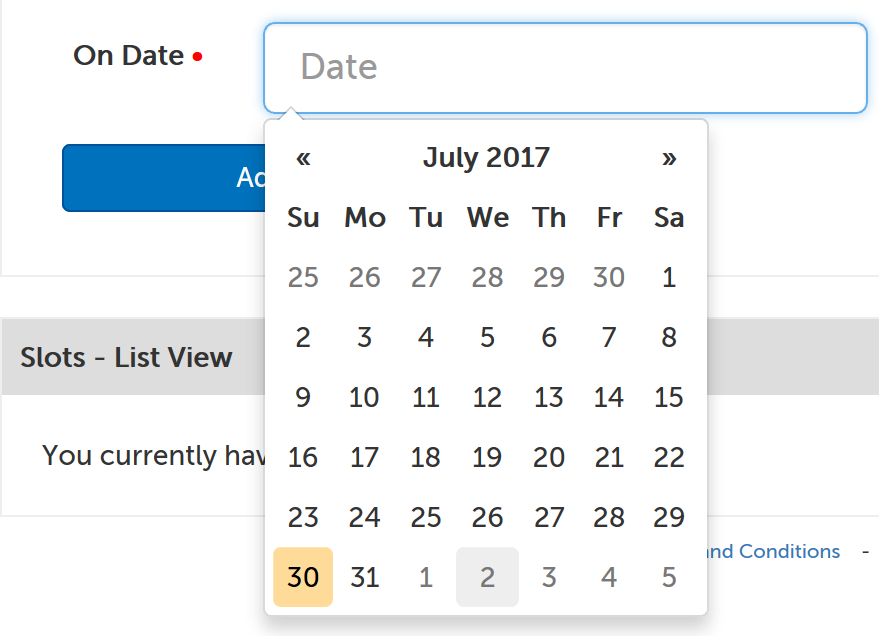
6. Click on the "Date" field to make the datepicker appear, and select the date the appointment slot should be for.
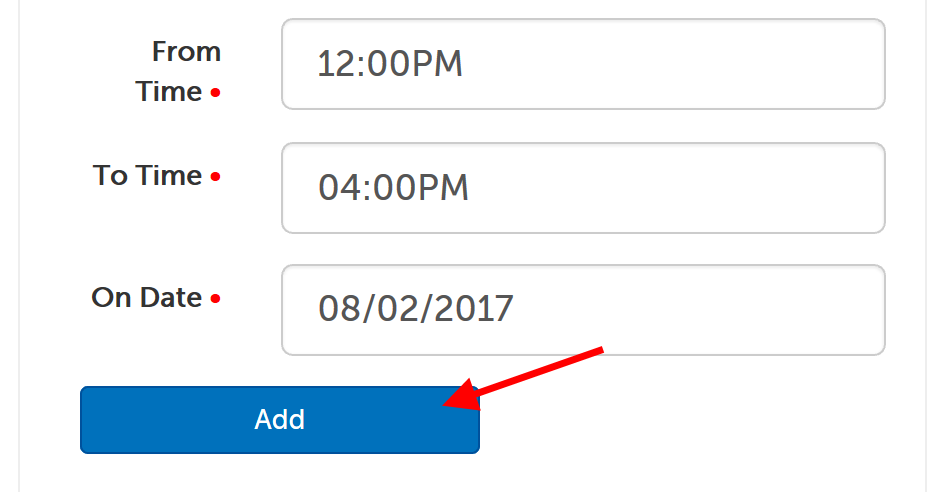
7. Click "Add" to add the appointment slot to your calendar. It will appear on the calendar in green and be viewable to users.
Add a Weekly Appointment Slot
Create a weekly appointment slot if you want to add a recurring appointment slot for a specific day of the week (or multiple days of the week).
1. Click on the profile icon in the upper right-hand corner, and select "Appointment Slots" from the drop-down menu.
2. Click on the dropdown next to "What Would You Like To Do?" and select "Add an Appointment Slot".
3. Click on the dropdown next to "One Time or Weekly?" and select "Weekly".
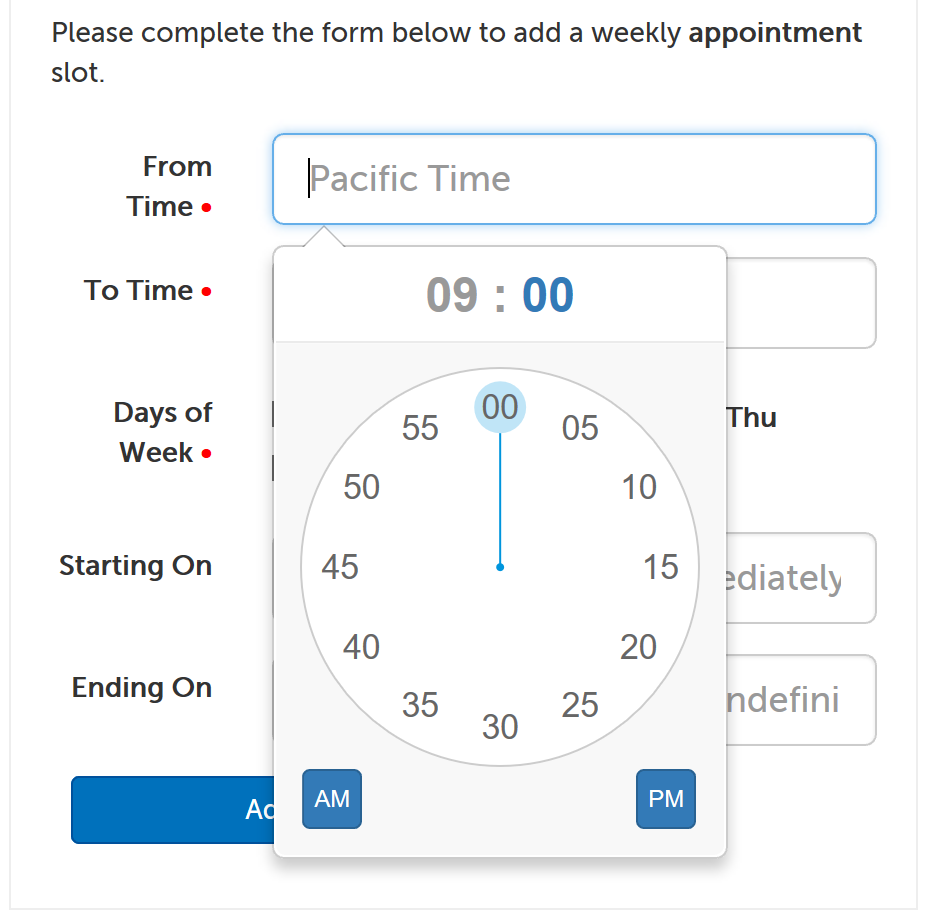
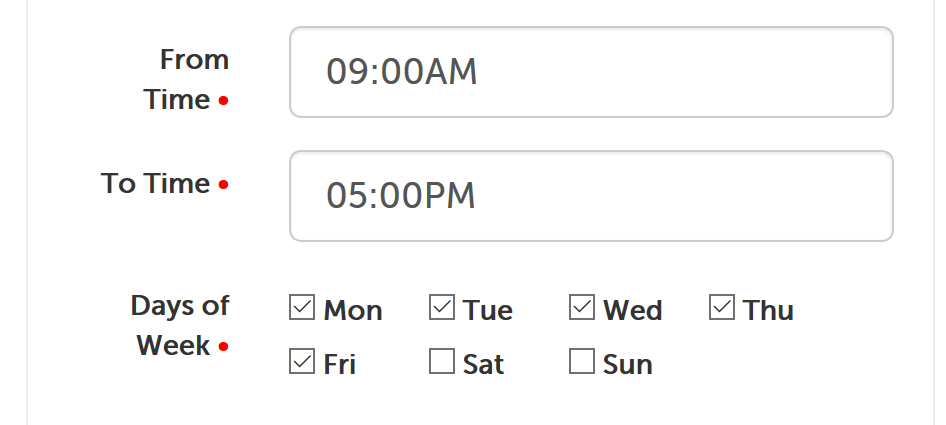
4. Click on the "From Time" field to have the timepick appear. Select a starting hour and then minute value, in your account's time zone. Click "AM" or "PM" to indicate which is applicable.

5. Set a "To Time" the same way.
6. Check the box next to the days of the week that this appointment time slot should apply to.
7. Click on the "Starting On" field to make the datepicker appear, and select the date the recurring appointment slot should start on. (Leave blank to start immediately.)
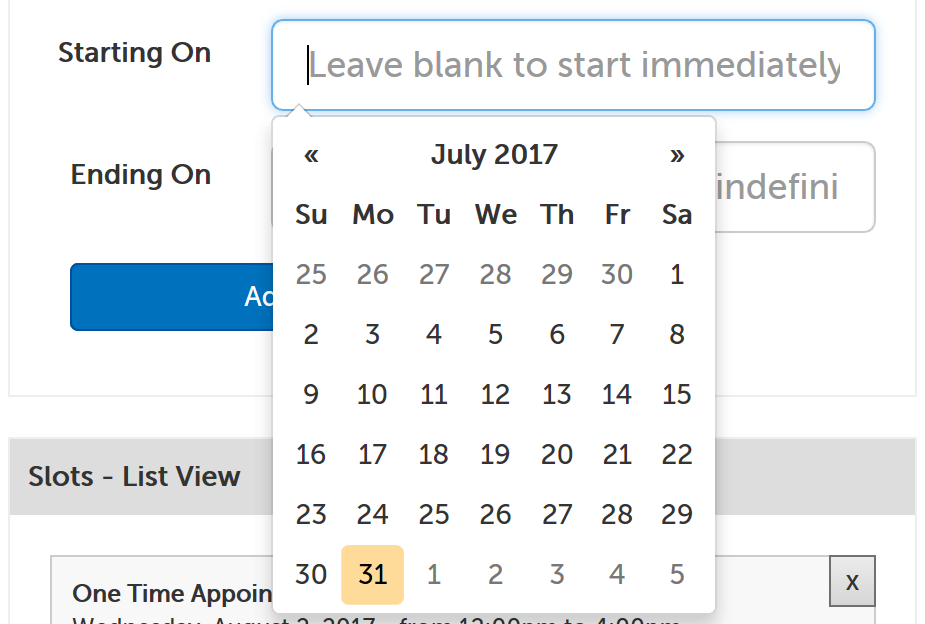
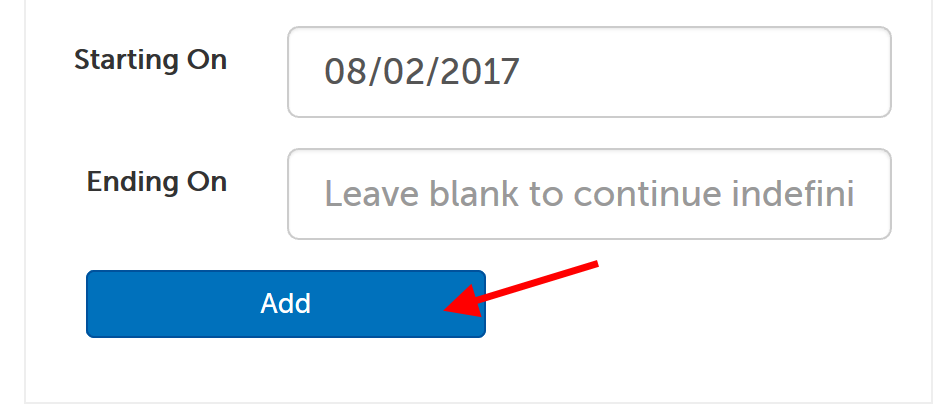
8. Click on the "Ending On" field to select the last date the recurring appointment slot should appear for. (Leave blank to continue indefinitely.)
9. Click "Add" to add the appointment slots to your calendar. They will appear on the calendar in green and be viewable to users.
Add availability slots on behalf of a user
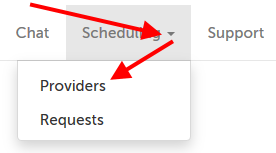
1. Click on the "Scheduling" tab at the top of the page, and select "Providers" from the drop-down.
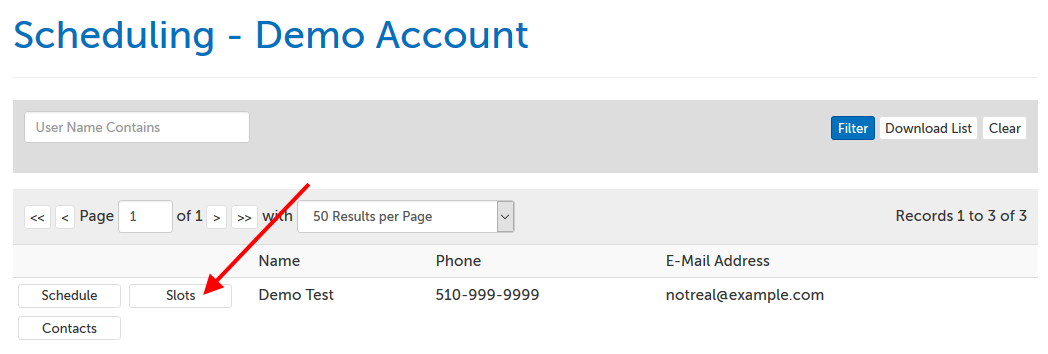
2. Click on the “Slots” button in the same row as the user you want to manage slots on behalf of.
3. Follow the instructions above to:
This article was last reviewed by our Support team on August 29, 2019.